Providing Office Inspections in
fort wortharlingtonBurlesonCedar Hillbenbrookdfw and
and crowleyand mansfieldand alvaradoand grand prairieand aledosurrounding areas
Call to schedule Inspection!!
Jimmy Leahy
Available
7am to 7 pm
An independent and locally owned Office inspection company
About your Office Inspector
I inspect every Office as if I’m the buyer. I inspect for you and will give an unbiased opinion on the condition of the Office. At Leahy’s Inspections, I’m truly committed to ensuring that our clients know exactly what they are buying. Committed to the buyers education, I encourage all my Office inspection clients to be present during the inspection. Typically a Office Inspection takes 3 to 4 hours depending on conditions and size of the office. If client unable to attend the full inspection, highly recommend being present the last hour of inspection. A detailed inspection report will be emailed within 24 hours of inspection. Mailed copy by request.
Foreclosed and REO Office Inspections
Why Choose Leahy’s Inspections ?
TREC Professional Office Inspector License #10412
InterNational Association of Certified Office Inspectors Member
Honest and Trustworthy
HUD/FHA Inspector N469
33 Years of Experience with DFW Residential Construction
Experienced in Foreclosed Office Inspections
Experienced 1st Time Buyer Inspector
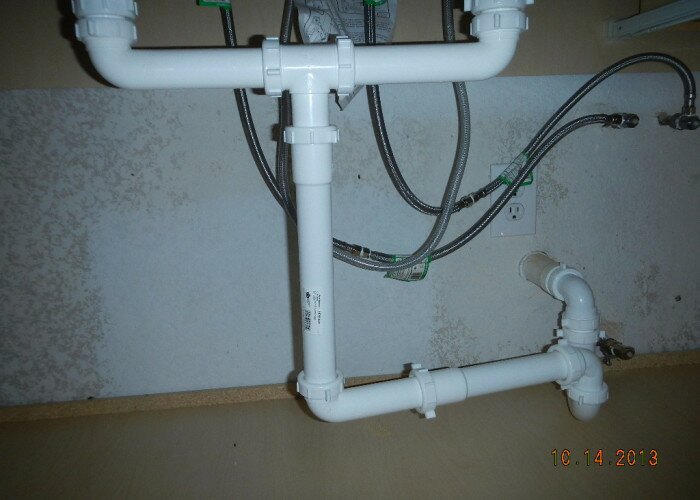
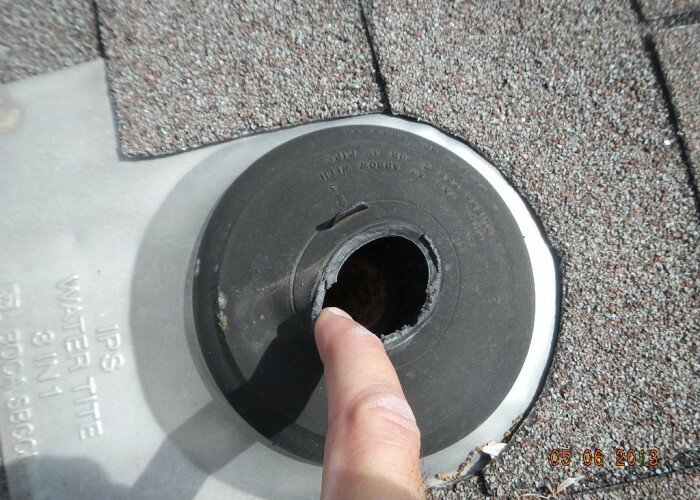
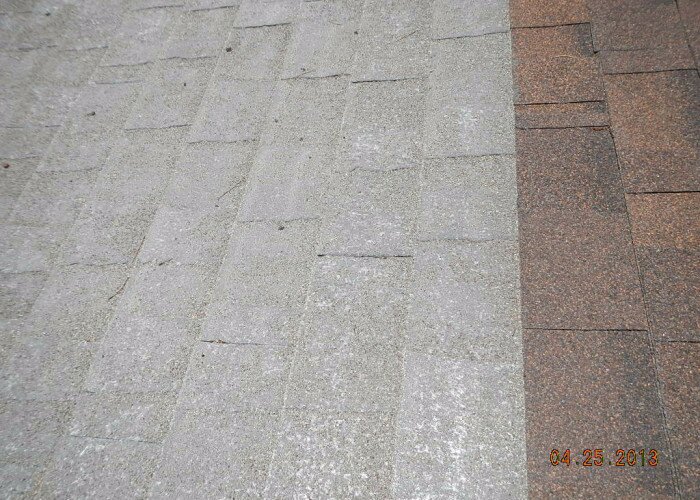
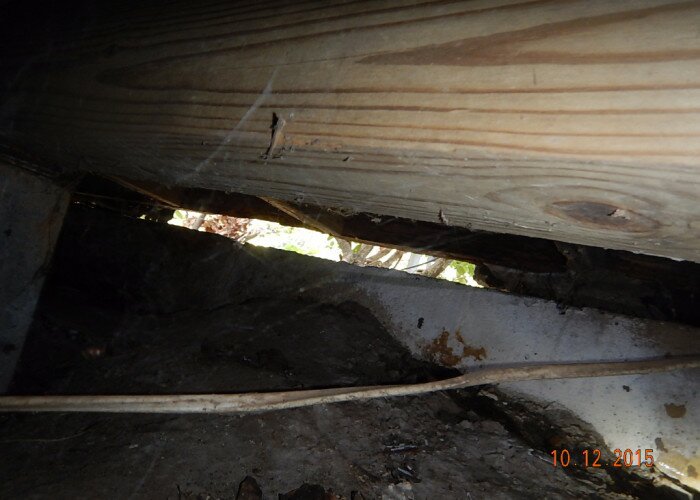
Inspection Services
Office Buyer Inspection
Office Inspection scheduled prior to closing on either brand new or existing Offices. The Office inspection covers hundreds of components in the Office and includes an easy to read written report outlining current conditions and safety issues. The report gives buyers the information needed to make the best decision regarding their investment and future maintenance concerns Read More
Pre-Listing Inspection
This is a general Office inspection completed prior to selling the Office to give current owners an idea of maintenance issues that need to be addressed. A pre-listing inspection also helps give confidence to potential buyers regarding the condition of the Office inspected by an unbiased licensed Office inspector
Office Warranty Inspection
This general Office inspection is done prior to the 12 month builder warranty expiration. A report from a licensed professional Office inspector can be taken to the builder and the issues noted can be addressed. If repairs aren’t needed, it provides peace of mind of the quality in which the new Office was built.
First Time Buyer Inspection
First time Office buyers knowledge of how a office works varies with every Office inspection. At Leahy’s Inspections, I take the time to explain some of these basics along with addressing routine maintenance during the Office inspection. Leahy’s Inspections then becomes an outlet to call whenever advice is needed